Knowing how to refill perfume bottles is a great skill to have for the avid perfume wearer. Not only does it make traveling easier if you’re trying to condense your favorite perfume into a smaller bottle, but it’s great for those who love to upcycle and craft with their empty perfume bottles.
One glance at a delicate glass bottle may make you feel hesitant to take it apart. However, it’s not complicated as long as you understand the perfume bottle’s anatomy and possess the right tools and skills required to take it apart without any damage.
Check out these simple steps to open and refill your perfume bottles so you can transfer your signature scent into a new bottle without damaging it.
What You’ll Need
Before you jump right into the process of decanting and refilling your perfume bottle, you’ll want to gather a few tools that’ll make the process a lot easier. Here’s a quick glance of what you’ll need to ensure the process runs smoothly:
- Main perfume bottle
- Pliers
- Scissors
- Funnel or syringe
- Empty bottle you are transferring perfume to
- Tissue or thin cloth
Now that you’ve gathered your supplies, it’s time to jump into the process of how to refill perfume bottles.
Step 1: Remove the Cap and Sprayer of Your Perfume Bottle
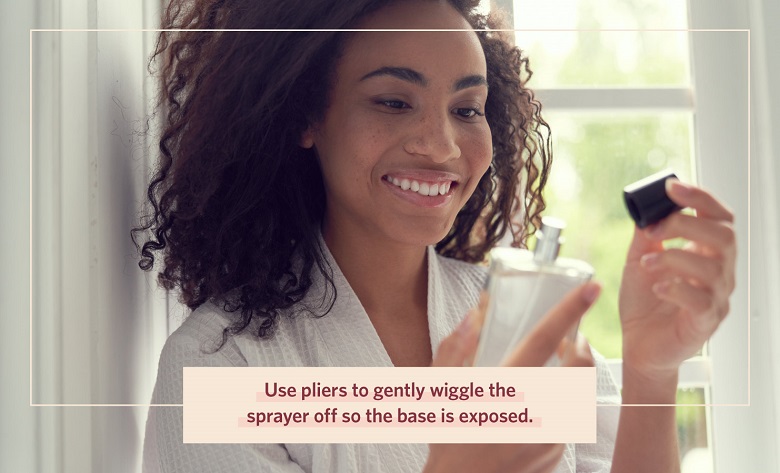
The first step in refilling your perfume bottle is to remove the cap. To do this, use your pliers to remove the sprayer or nozzle from the bottle. Gently wiggle the sprayer in a back and forth motion until the base of the sprayer is completely visible.
Pro Tip: If you plan to reuse your bottle, use a tissue or thin cloth to wrap around the cap sleeve so that you can avoid any unwanted scratches or marks.
Step 2: Remove the Base of the Sprayer
Now that the cap and sprayer have been removed from the perfume bottle, it’s time to move on to the most difficult part when it comes to learning how to refill perfume bottles, which is removing the base of the sprayer. To do so, you must first determine whether your perfume bottle has a plastic or metal sealing.
How To Open a Perfume Bottle
Removing the base of the sprayer is how you reach the perfume inside of your bottle. Once you’ve determined if the base of the perfume sprayer is metal or plastic, follow these directions to open it up.
Plastic Base: If your perfume bottle has a plastic base, the process to remove it should be fairly easy. Take a pair of scissors and slide it underneath the plastic base to tear it apart from the glass bottle. Do this on all sides of the base so it will tear easier.
If the plastic doesn’t tear away, use your pliers to gently wiggle the plastic base left to right while pulling up. Be careful not to pull too aggressively as you don’t want the glass bottle to shatter. Once it’s loose enough, the plastic base should come right off.
Metal Base: If your perfume bottle has a metal base, the process can be more difficult as it’s much harder to bend metal compared to plastic. Take your pliers and loosen the metal base by gently wiggling it left to right.
Make sure not to clench the pliers too tight around the base so the glass underneath it doesn’t break. This may take some patience, but after a few minutes the base should be loose enough to remove.
Pro Tip: Be aware that metal based perfume bottles will most likely break, so you won’t be able to reuse your perfume bottle. In this case, try refilling a perfume atomizer.
Step 3: Remove Fine Glass and Spray Stem
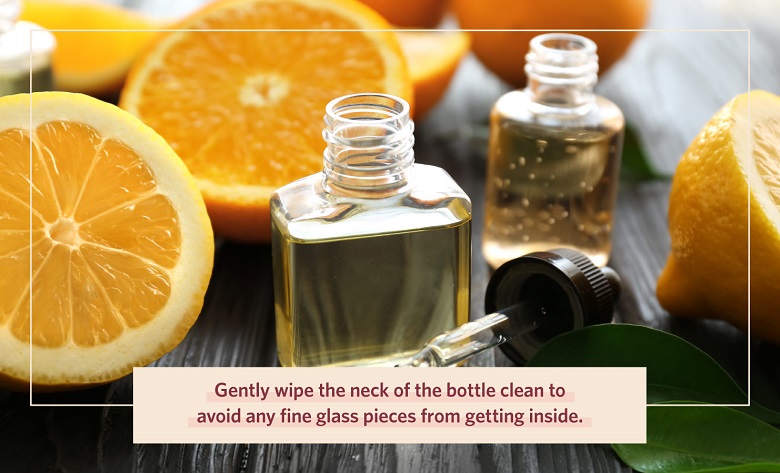
No matter how careful you are, fine pieces of glass are bound to break off the neck of the bottle — especially with metal base perfume bottles. However, this is an easy fix as you can simply use a tissue to gently wipe the neck off and avoid any glass getting inside your perfume bottle.
Step 4: Use a Funnel or Syringe to Transfer Perfume
Now that the perfume is exposed, you can transfer the liquid into your desired bottle. Instead of pouring the contents into your new container, where it can spill easily, use a funnel or a syringe to transfer the perfume to its new home so you can avoid any messes or wasted product.
Step 5: Seal the Bottle
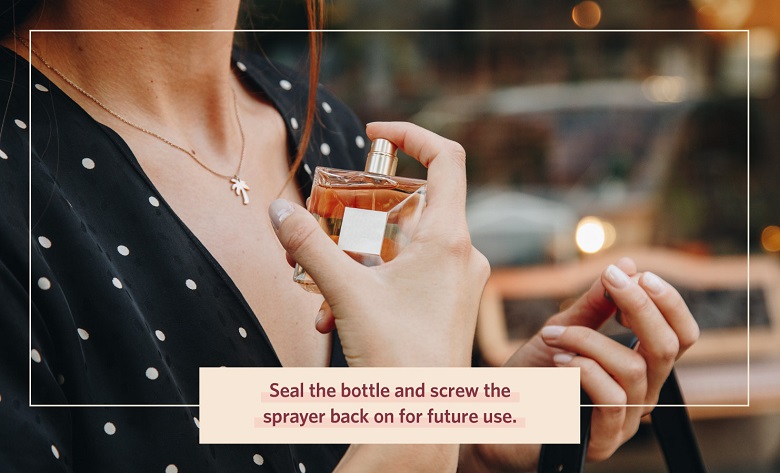
If you were able to avoid any breakage up to this point, you can then seal up the bottle for future use. First, reapply the base to the neck of the bottle. If this doesn’t work you can skip this step and reapply the sprayer instead. The sprayer should fit on top of the neck like a missing puzzle piece. However, it’s ideal if the sprayer is set on a screwing mechanism so you can just screw the bottle back onto the neck for a tight seal.
Post time: Sep-28-2022


